One-On-One Photography Workshop
Workshop 1
Basics, camera and equipment
Workshop 2
Post-Processing
Workshop 3
Printing – How to
All Levels
Beginner to advanced
Sharing my passion for photography has always been part of what I love doing.
Over the years, while shooting on location, scouting, or leading photo tours, I have met and talked with many passionate photographers. I realized we always seemed to discuss the same matters: technique, equipment and creativity. That is what initiated my interest in providing workshops.
What I often notice when doing photo tours or answering comments in group discussions, is the need for photographers to find one-on-one training despite all the very good online video tutorials or group workshops that are available.
The real bonus with one-on-one sessions is that your specific questions are individually addressed and that you get 100% of my attention.
I offer three different workshops that you can choose from or combine at will:
Workshop 1: Basics, camera and equipment
Workshop 2: Post-processing
Workshop 3: Printing – How to
The workshops are fully personalized training organized for one person only.
Our first conversation will allow us to identify the topics that you wish to explore.
Basics, Camera and Equipment
Workshop 1
These are some of the photographic topics we can explore together.
The goal is to answer your questions about the best suited equipment for your personal photography style:
- Camera Basics: Looking at the differences between cameras on the market.
- Camera Sensor: Exploring the different formats (full frame, APS-C, medium format, etc) and their differences (resolution, image quality, IBIS, cost, etc). Choosing the format that will best suit your style.
- Lenses: Prime versus zoom and how to select the focal length according to your needs.
- Shutter Speed / Aperture / ISO: Understanding the relationship between shutter speed, aperture and ISO and global exposure. How to use them based on the subject and context.
- Expose to the Right (ETTR) technique. How it works and the real benefit of using it is.
- Depth of field: Understanding the principles and limitations of the depth of fields and applying them to real world situations.
- Focusing techniques: automatic and manual modes.
- Long lens techniques for wildlife, sports and still photography.
- How to best use a tripod to limit vibration and blur:
- Choosing a tripod
- What head to use
- Stability – How to make the rig stable
- Travel tripods
- Special settings for telephoto lenses
- Special settings for creating high resolution panoramic images
- What to do when a tripod is not available
- Smartphone apps: Applications that make photographer’s life easier. Ephemeris (sun, moon, milkyway, augmented reality, etc), depth of field calculation, weather radar.
- Image File & storage:
- RAW versus JPG.
- Memory cards – speed, capacity, storage on the road, etc.
- Portable hard drives.
- Getting ready before going on location:
- Checking maps and the weather forecast
- Checking the sun, moon, milkyway placements
- Selecting the equipment
- Studying the subject
- Software for RAW development: Exploring the main options (Adobe Creative Cloud, Capture One, etc).
- Screen / Monitor: The importance of a having a good monitor and why having a color calibrated environment is crucial.
- Backup strategies: The importance and the options of a backup (local, remote/cloud and a mix of both).
- Panoramic photography: Best shooting technique
- Single and multi row arrangement
- Assessing the change of light between image frames
- How to level and check horizontal axis uniformity
- Hand-held shooting technique when a tripod is not available
- Stitching software (Lightroom and/or PTGui)
- Timelapse Photography: an introduction:
- How to use an integrated or external intervalometer: Basic to advanced settings
- Camera settings: image stabilisation, manual focus, sensor cleaning, etc
- Pre-visualization of the scene moving: elements, composition
- Exploring which software to use
Photo Post-Processing
Workshop 2
Lightroom & Capture One
- How to fine-tune the software settings for performance.
- Methods to import photos and organize the catalog and/or sessions.
- Main modules explained (library, develop, print).
- Interface customization to fit your needs in Capture One.
RAW Development
- White balance.
- Exposure / Contrast / Tone curves.
- Shadows / Blacks / Whites / Highlights.
- Clarity / Texture / Dehaze.
- Vibrance / Saturation.
- Graduated, Radial filter and brushes.
- Black & White conversion.
- Soft-proofing.
Photoshop
- How to setup Photoshop (color space, memory, interface, scratch disk, etc)
- Other tools (selection, paint brush, clone/spot healing, fill/gradient, color selection, etc).
- Histogram: How to interpret it using real examples (low key and high key images, low and high-contrast images).
- Layers and blending modes.
- Luminosity Masks.
- Curves and Levels adjustments.
- Black and White conversion.
- How to prepare an image for print (including soft-proofing).
- How to use Photoshop Actions.
Panoramic of 4 bracketed vertical images stitched together
and fine-tuned in Photoshop
Before & After Single RAW image processing using Lightroom
Printing – How To
Workshop 3
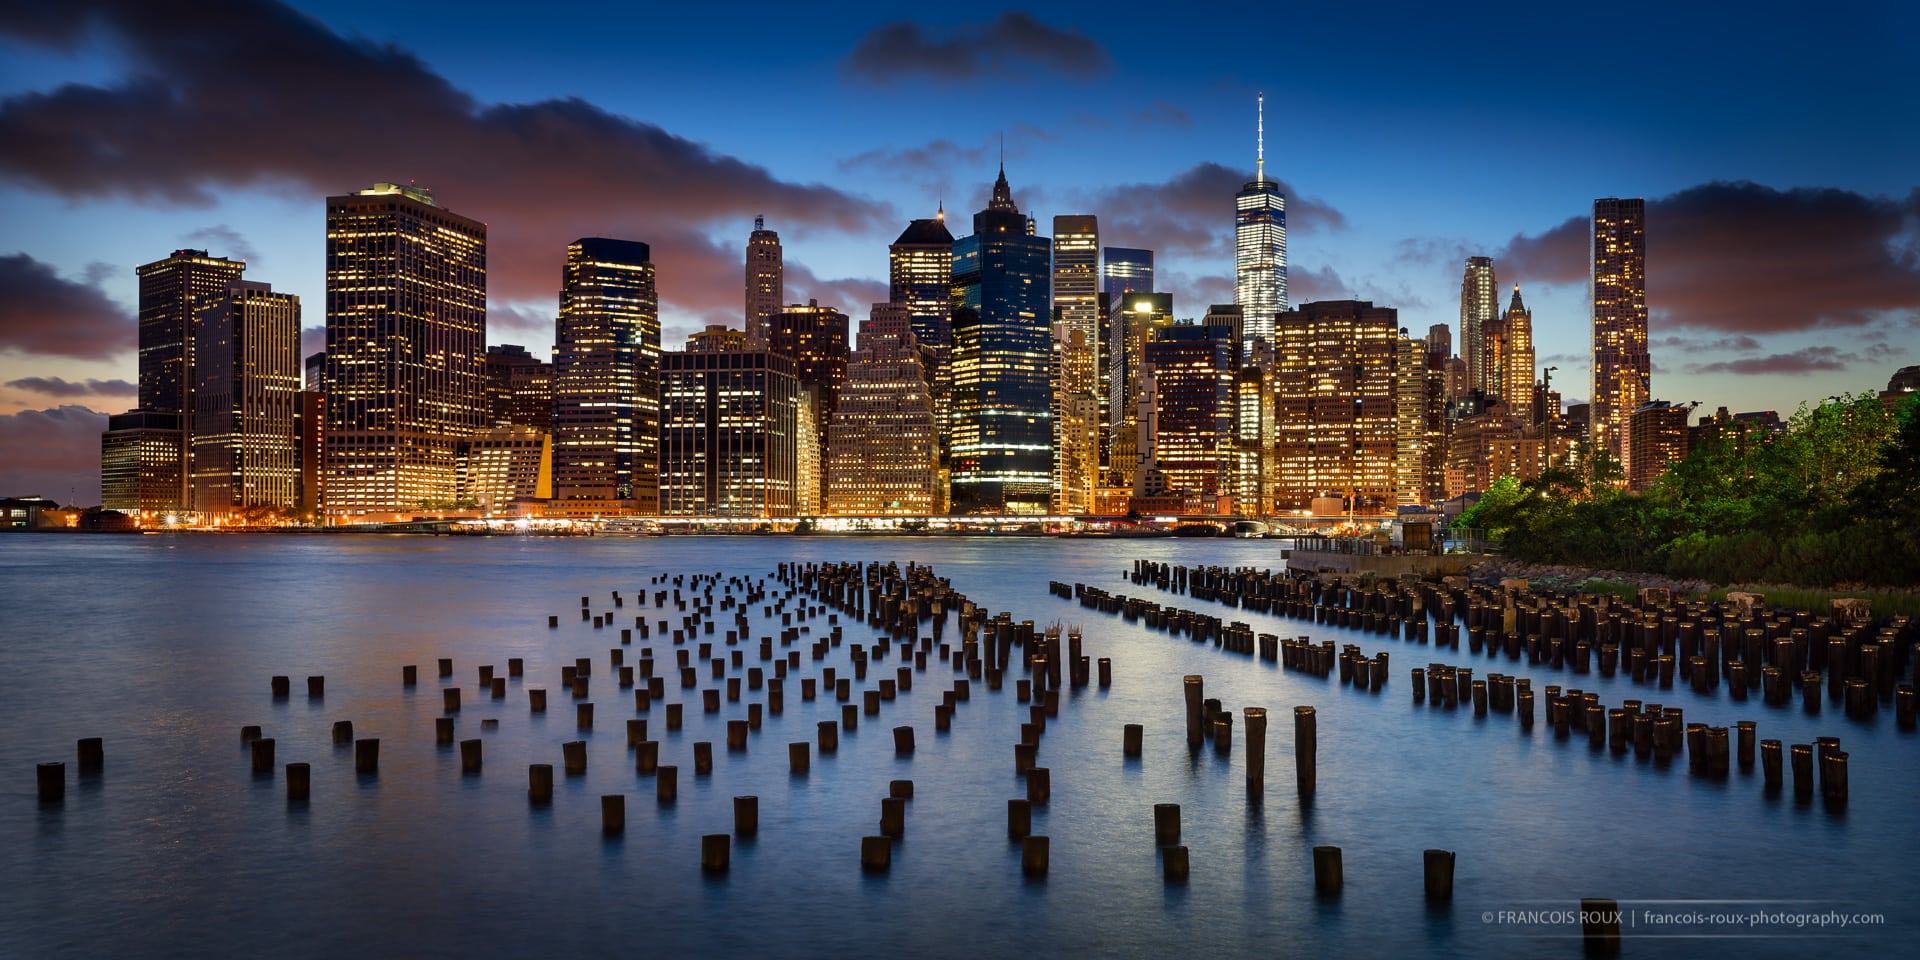
Panoramic Photo – 6 vertical images stitched together creating a 5,300 x 8,000 pixels panoramic photograph
Printed at 360dpi (Epson native resolution) makes a 22 by 44 inches high resolution print
To me, printing is an integral part of my workflow and an important element of the creative process.
Modern photographic printers are more than capable of beautiful output but require proper settings to make successful prints.
Here are some printing topics that we can explore together:
- Paper and texture selection: glossy, matte, semi-gloss, canvas, etc.
- How to install paper profiles on PC and Mac.
- Settings for printing from Photoshop, Lightroom and Capture One.
- How to soft-proof and prepare an image for a specific printer and paper combination.
- Understanding the relationship between image resolution and printing size. How far can we push?
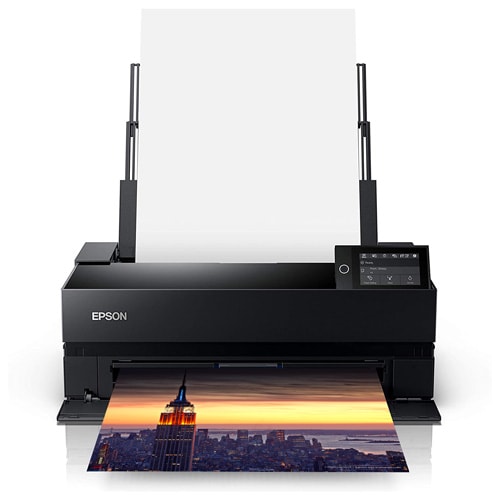
If the printing workshop takes place at my location, we will print your photographs on an Epson P900 using different types of papers. Available papers include Epson Luster, Hot Press Bright, Enhanced Matte, Canson Infinity Baryta, Hahnemühle FineArt Baryta, Photo Rag 308 but other papers can be made available upon request.
If you wish you may also bring your own paper to be tested on the P900.
Where
All three workshops can take place in New York, at my or your location, and/or remotely.
At my New York City location
One block away from Madison Square Garden in the heart of Manhattan.
This would allow us to use if we need, Lightroom, Capture One, Photoshop, a 30″ NEC Monitor and my Epson P900 printer.
You can also bring your laptop or any other necessary equipment.
A combination of local and remote training
A combination of remote and face-to-face sessions can be very effective.
You may choose a remote session before your face-to-face training. This is a useful way to prepare for and review different techniques.
Remote sessions after face-to-face training can be a great way to stay in keep in touch and follow-up on your progress.
At your chosen location in New York City
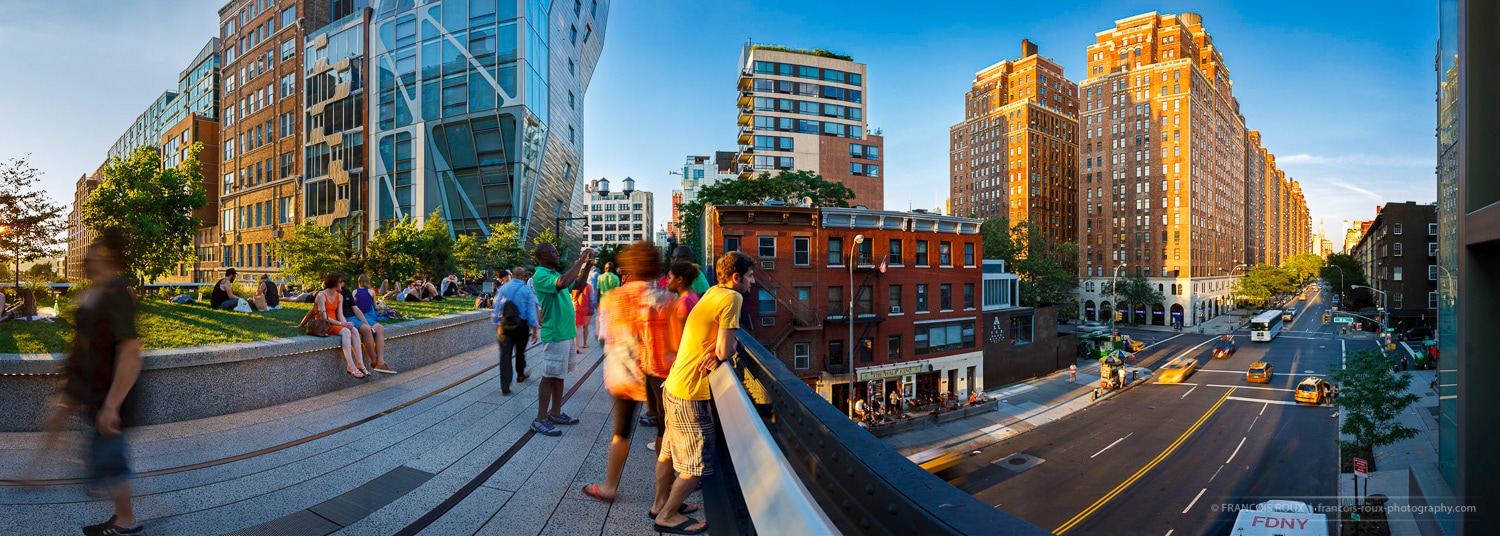
Your workshop may include shooting on location. Examples would be New York cityscapes and architecture, or nature photography, e.g. birds at Jamaica Bay.
We could also investigate different light and weather conditions.
If you have your own laptop with Photoshop and/or Lightroom or Capture One already installed, it would allow us to work directly with your own equipment. However, portability permitting, I can also take my laptop and any other equipment.
Remotely by using Skype, TeamViewer or Zoom
This is a highly flexible option that allows us to do your one-on-one training anywhere in the world. All you need is a fast Internet connection.
We can share your screen remotely so I can work with you on your own computer with your own settings and images.
Book your One-on-One Workshop
Whether you are a beginner, an amateur, if you have questions about your equipment
you can call me or email me, or use my contact form.
The topics you would like to explore are entirely up to you.
This is a one-on-one workshop: your needs are my focus!
All content and images Copyright © 2025 Francois Roux Photography, all rights reserved.
Please contact me for more information

